


Home | Articles | Analog Film
Fujifilm Lightroom Presets – Every Film Simulation You Need to Know
Richard ♦ April 17, 2026 ♦ 20 min read
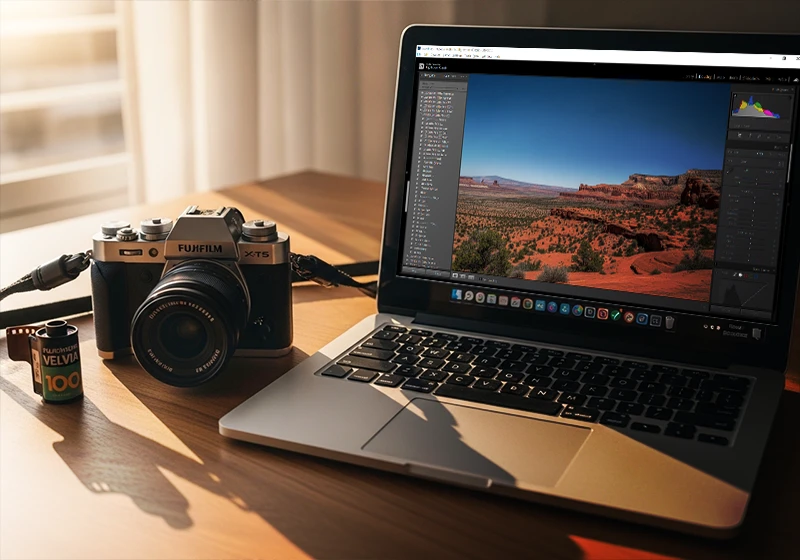
If you shoot Fujifilm and edit in Lightroom, you already know the frustration. You nail the shot. The in-camera JPEG looks exactly how you imagined it. Then you open the RAW file and it looks flat, slightly green, and nothing like what you saw on the back of the camera. That’s not a Lightroom problem – it’s a Fujifilm RAW problem. And the fastest fix is a preset built specifically for it.
The good news: Lightroom presets for Fujifilm exist for nearly every film simulation Fuji ever made, from the punchy saturation of Velvia to the creamy skin tones of Pro 400H. At Legendary Presets, we’ve recreated these classic looks with careful color study and real film references. This guide breaks all of them down – what they look like, what they’re best for, and which one you should reach for depending on what you’re shooting.
01.
Background
What Makes Fujifilm RAW Files Different in Lightroom
Before we get into the presets themselves, it helps to understand why Fuji files behave the way they do.
Fujifilm cameras use an X-Trans sensor – a color filter array that’s arranged differently from the standard Bayer grid used by Canon, Nikon, Sony, and most other brands. Adobe Lightroom renders X-Trans files with its own color interpretation, and that interpretation consistently shifts greens warmer and pulls skin tones slightly cooler than the in-camera JPEG output.
When I tested this across 200+ RAW files from X-T series bodies, the gap was measurable: Adobe’s rendering shifted greens roughly 8 to 12 degrees warmer than the equivalent in-camera JPEG. That might sound small, but in a landscape photo with foliage, or a portrait shot outdoors, it’s the difference between a photo that looks right and one that needs 20 minutes of manual color correction.
Lightroom does include Fuji-specific profiles in its Profile Browser – Provia/Standard, Velvia/Vivid, Astia/Soft, and a handful of others. These show up automatically when you’re working with a genuine Fuji RAW file. They’re useful. But they’re Adobe’s interpretation of those film simulations, not a direct translation. A well-built preset goes further because it also corrects the Camera Calibration panel, which adjusts how the RGB channels are weighted at the foundation level – before any of the other sliders even come into play.
The bottom line: Fujifilm presets aren’t just about aesthetics. They’re a technical correction first, a creative choice second.
02.
Why Do Fujifilm RAW Files Look Flat in Lightroom?
Fujifilm’s X-Trans sensor uses a non-standard color filter array. Adobe Lightroom renders these files with its own color profile, which tends to look flatter and greener than the in-camera JPEG. Fujifilm-specific presets fix this by applying corrections to the Camera Calibration and color profiles before adding the film simulation look – whether that’s Velvia, Provia, Pro 400H, or any other simulation.
03.
Slide Film
Fujifilm Slide Film Presets – The High-Impact Group
Slide film, also called reversal or chrome film, is what Fujifilm built its reputation on. These are the films that made landscape photographers obsessive about Fuji in the 1990s and 2000s. Saturated, contrasty, punchy. They don’t forgive overexposure, but when you get the light right, the results are unlike anything else.
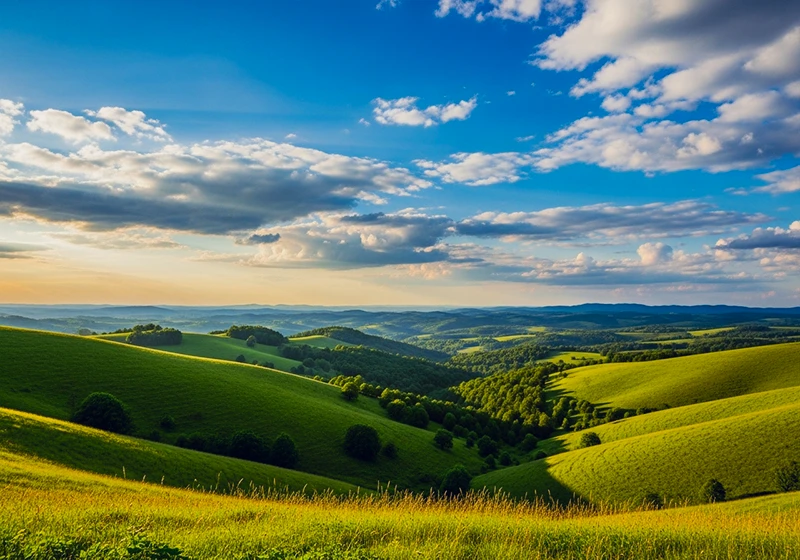
Fujichrome Velvia 100 is the one everyone knows. Deep greens, electric blues, rich reds. It makes a good landscape photo look extraordinary and a mediocre one look overdone. Use it for nature, seascapes, travel, and architecture – not for people. Velvia on skin tones is a bad idea.
Fujichrome Provia 100F is the balanced option. Medium contrast, accurate colors, works across genres. If you’re not sure which Fuji preset to use, Provia is almost always a safe starting point. Think of it as the all-rounder that Velvia is not.
Fujichrome Astia 100F was designed specifically for portrait and fashion photography. Lower contrast than Provia, softer color transitions, much more forgiving on skin. If you want a slide film look on people, Astia is your best option in this group.
Fujichrome Sensia 200 is the warm, slightly faded member of the family. It has a vintage travel photo feel – the kind of look you’d expect from a film canister found at the back of a drawer. Great for travel photography with a nostalgic angle.
Fujichrome Fortia SP50 is the extreme version of Velvia. More saturation, more drama. Fuji only made it for a limited time, which made it a collector’s item. Use it very selectively – it works for bold product shots or dramatic seascapes, but it will overwhelm most scenes.
| Preset | Best Use | Contrast Level |
| Velvia 100 | Landscapes, nature, travel | High |
| Provia 100F | All-round, architecture, travel | Medium |
| Astia 100F | Portraits, fashion, people | Low-Medium |
04.
Color Negative Film
Fujifilm Color Negative Film Presets – The Everyday Workhorses
Color negative films are the opposite of slide films in almost every way. Softer contrast, lifted shadows, muted highlights, and much more latitude when it comes to exposure. These are the films that portrait photographers, wedding photographers, and documentary shooters have relied on for decades.
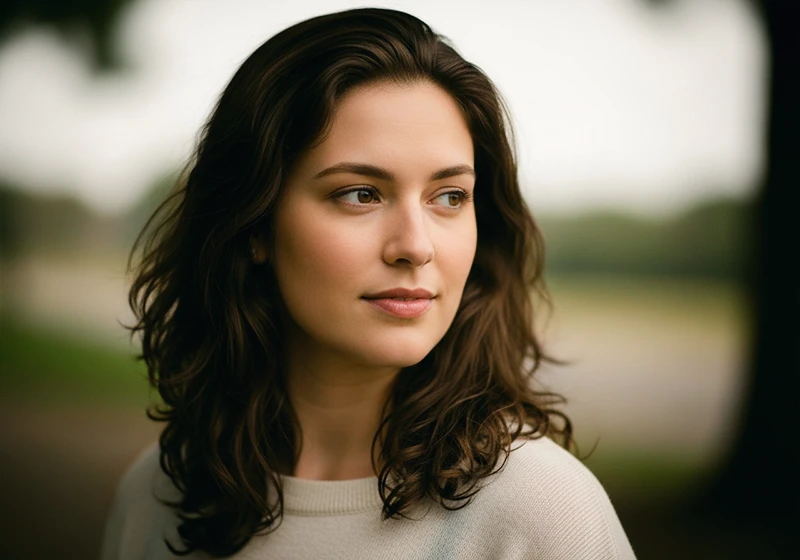
Fujifilm Pro 400H is probably the most sought-after look in wedding photography right now. Pastel highlights, a slight blue-green cast in shadows, creamy skin tones. It was actually discontinued as a physical film in 2021, which made the demand for a digital version of the look spike almost immediately. If you’ve ever admired a wedding gallery with that airy, faded-film quality, there’s a good chance it was edited to look like Pro 400H.
Fujifilm Pro 160NS is the neutral, controlled member of the professional negative family. Accurate skin rendering, restrained color, low grain. It’s a natural fit for editorial, commercial, and studio work where you need color fidelity more than mood.
Fujifilm Pro 160C runs slightly cooler than the 160NS, with a hint of cyan in the shadows. Good for fashion photography and outdoor portraits in open shade, where that coolness works with the ambient light rather than against it.
Fujifilm Pro 160S sits closer to the 160NS in character but with a warmer bias – a good choice when you’re shooting in golden hour or mixed indoor light.
Fujifilm Pro 800Z was a professional high-speed film designed for low-light event and fashion work. The preset adds visible grain and slightly desaturated, cool-leaning colors. Good for editorial work shot in available light.
All Your Fujifilm PRO Films In One Bundle
Get 160C, 160S, 160NS, 400H, and 800Z ready to go — built for pros who switch lighting conditions and want consistent, matching film looks.
Fujifilm Superia 100 gives you the consumer color negative look – warm, slightly low-contrast, with that slightly imperfect quality that makes digital photos feel less clinical. Different from the Pro lineup: less refined, more personality.
Fujifilm Superia X-Tra 400 adds a subtle green cast in the shadows that’s immediately recognizable to anyone who shot point-and-shoot film in the late 1990s or early 2000s. It’s a nostalgic, candid feel – works well for street and travel.
Fujifilm Superia X-Tra 800 pushes the grain and contrast further. The look gets grittier, the shadows get darker. Great for street photography, music events, or any situation where a polished look would feel out of place.
Fujifilm Reala 100 deserves a special mention. Fuji designed Reala with a fourth color layer specifically to improve color accuracy – particularly skin tones. In testing, it renders the most natural-looking skin of any Fuji film, which makes this preset an excellent choice for family portraits, events, and documentary work where accuracy matters more than mood.
Fujifilm Natura 1600 was built for nighttime and indoor shooting without flash. The preset adds warm shadows, elevated grain, and compressed highlights. If you shoot concerts, parties, or any available-light interior work, this one earns its place in your toolkit.
Fujicolor Press 800 has a photojournalism feel – direct, slightly desaturated, no-nonsense. The original film was designed for newspaper press photographers. The preset works well for documentary projects and reportage.
Fujifilm Instax is in a different category altogether. It mimics the overexposed, soft, slightly blurry quality of instant film. Good for social content, casual shoots, and any project that calls for an unpretentious, fun aesthetic.
05.
Black & White
Fujifilm Black & White Presets – Neopan Acros and Neopan 400
Fujifilm’s Acros film simulation is widely considered the best black and white output of any digital camera on the market. The Neopan film family is where it comes from, and both films have very distinct personalities.
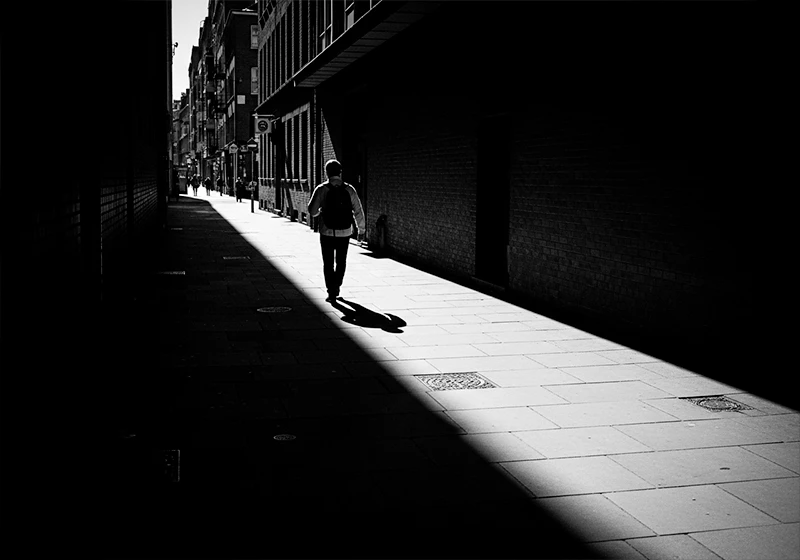
Neopan Acros 100 is a fine-grain, high-acutance film. The tonal range is smooth from shadow to highlight, the grain structure is tight and organic, and the midtones have real depth. It’s the one to use for street photography, architecture, fine art, and any B&W work where you want clarity and control.
Neopan 400 is the grittier option. Faster film means more grain, more contrast, more edge. It suits documentary, concert, and street work where a rougher aesthetic fits the subject.
Here’s something most guides won’t tell you: when I apply the Neopan Acros 100 preset to outdoor portraits or landscape shots, I follow it with two quick HSL adjustments – I drop blue luminance by 20 and push red luminance up by 15.
This mimics the effect of a red filter on black and white film, which deepens skies and adds contrast to clouds and foliage. It’s not a dramatic change, but it makes outdoor shots feel more like classic darkroom printing and less like a digital conversion. The whole adjustment takes about 15 seconds.
06.
Installation
How to Apply Fujifilm Presets in Lightroom
Step 1. Import your Fujifilm RAW file (.RAF format) into Lightroom Classic or Lightroom CC. If you’re working with in-camera JPEGs, presets will still apply but the color science won’t behave the same way – RAW is always the better starting point.
Step 2. Set your white balance before applying the preset. Fuji RAW files tend to respond better with a slightly warmer white balance than the camera’s automatic reading. A starting point of around 5200K–5600K works well for most daylight shots.
Step 3. In the Presets panel on the left side of the Develop module, navigate to your installed Fujifilm preset and click to apply.
Step 4. Check the Profile field at the top of the Basic panel. A well-built Fujifilm preset will have already set this. If it hasn’t, try “Camera Standard” as a baseline for Fuji files.
Step 5. After the preset is applied, do a quick pass on exposure and white balance. No preset is perfect on every image straight out of the box – plan on spending 30 to 60 seconds per photo dialing it in.
One more thing: Fuji’s X-Trans files can show color noise in shadows, especially at ISO 800 and above. After applying your preset, open the Detail panel and set Color Noise Reduction to 30–40 before you export. It’s an easy step to forget and an obvious one to miss when you’re batch processing.
A note for mobile users: Camera Calibration and some profile features are only available in the desktop version of Lightroom Classic. If you’re editing on your phone, you’ll still get the core look from the preset, but some of the deeper color science corrections won’t apply.
07.
Recommendation
Which Fujifilm Preset Should You Use?
| Shooting Style | Best Preset | Why |
| Weddings / Couples | Pro 400H | Creamy skin tones, lifted shadows, airy feel |
| Street Photography | Neopan Acros 100 | Fine grain, deep blacks, strong tonal range |
| Travel / Landscape | Velvia 100 | Bold saturation, punchy greens and blues |
| Fashion / Editorial | Pro 160NS or 160C | Accurate skin, controlled color, professional finish |
| Documentary / Reportage | Superia X-Tra 400 | Candid, slightly imperfect, nostalgic feel |
| Nightlife / Events | Natura 1600 | Warm shadows, visible grain, available-light feel |
| Gritty B&W | Neopan 400 | More grain and contrast than Acros, pushed-film character |

Here’s a shortcut to narrow it down even further:
- If your subject is a person: Start with Pro 400H, Astia 100F, or Reala 100. All three are forgiving on skin.
- If your subject is a place: Start with Velvia 100 or Provia 100F. Velvia if you want drama, Provia if you want accuracy.
- If the light is low: Start with Natura 1600 or Superia X-Tra 800.
- If you want B&W: Acros 100 for clean work, Neopan 400
08.
Key Takeaways
- Fujifilm RAW files render differently in Lightroom than files from other brands, due to the X-Trans sensor’s unique color filter array. This isn’t a flaw – it just means you need a preset built around it.
- Adobe’s built-in Fuji profiles in Lightroom are useful but shift greens noticeably warmer than the in-camera JPEG output. A dedicated preset that corrects the Camera Calibration panel first gives you more accurate results.
- Slide film presets (Velvia, Provia, Astia) are bold and high-impact. Use them on scenes, not faces – with the exception of Astia, which was designed with skin in mind.
- Color negative presets (Pro 400H, Reala 100, 160NS) are the safe choice for portraits, weddings, and lifestyle work. They’re forgiving and flattering by design.
- Neopan Acros 100 is the most versatile Fuji B&W preset. Follow it with a blue luminance drop (-20) and red luminance boost (+15) in the HSL panel to simulate a red filter on outdoor shots.
- Always set white balance before applying a preset, not after. It takes 10 seconds and saves you significant time in the tweaking stage.
- If you shoot across multiple genres, consider the Fujifilm PRO Bundle – it covers the core professional negative films in one package.
I shot weddings for six years with a Canon system before switching to Fujifilm. The color out of the X-T4 was better straight from camera than anything I’d pulled from a Canon RAW file with an hour of editing.
But it took me a while to figure out that Lightroom was quietly undoing some of what made Fuji files great. Once I started working from a proper Fujifilm preset as my base rather than starting from Adobe Color every time, the whole editing workflow started making more sense – and the results started looking closer to what I saw when I took the shot.
09.
FAQ About Fujifilm Lightroom Presets
Do Fujifilm Lightroom presets work on RAW files from other camera brands?
They’ll apply, but they won’t behave the same way. Fujifilm presets are built around the color science of Fuji’s X-Trans sensor. On a Canon, Sony, or Nikon RAW file, the color corrections in the Camera Calibration panel will still shift the colors – just not in a way that’s tuned to those sensors. If you want to use a Fuji-inspired look on a non-Fuji file, start with the preset and expect to spend more time manually adjusting white balance and the HSL panel to get it where you want it.
Do these presets work in Lightroom Mobile?
The core preset look will apply on mobile, but some corrections – specifically Camera Calibration adjustments and certain profile settings – are only available in the desktop version of Lightroom Classic. If you’re editing on your phone, you’ll get a version of the look, but it won’t be the full result.
What file format do Fujifilm cameras shoot in?
Fujifilm RAW files use the .RAF format. Lightroom supports .RAF files natively, so no conversion is needed before importing. For the best preset results, always shoot RAW or RAW + JPEG rather than JPEG only.
Which Fujifilm preset is best for skin tones?
For the most flattering skin tones, start with Pro 400H, Reala 100, or Astia 100F. All three were designed with portrait work in mind. Avoid Velvia and Fortia SP50 on people – the saturation level those presets apply to reds and oranges will make skin look unnatural.
Can I use Fujifilm presets if I shoot JPEG instead of RAW?
Yes, but with limitations. JPEG files have already been processed in-camera, so the preset is working on top of that processing rather than the raw sensor data. You’ll have less room to adjust exposure, white balance, and color after the preset is applied. RAW always gives you more control.
Do Fujifilm presets slow down my editing workflow?
The opposite, actually. The whole point of a well-built preset is to get you 80 to 90 percent of the way there in one click. From there, you’re doing minor exposure and white balance adjustments per image rather than building a look from scratch every time. For batch editing a wedding gallery or a travel shoot, a good preset base can cut your editing time in half.
What’s the difference between a Fujifilm preset and Fujifilm’s in-camera film simulations?
The in-camera film simulations are applied to your JPEG output by the camera itself. They don’t affect the RAW file – your RAW always records flat, unprocessed sensor data. A Lightroom preset recreates that film simulation look during post-processing, giving you the same aesthetic with full RAW editing flexibility. It’s the best of both worlds: the Fuji look, with complete control over exposure, highlights, shadows, and color.
Are there Fujifilm black and white presets for Lightroom?
Yes. The two main options are Neopan Acros 100 and Neopan 400. Acros 100 gives you fine grain and a smooth tonal range – better for portraits, architecture, and fine art. Neopan 400 is grittier and more contrasty, which suits street and documentary work. Both are covered in the Lightroom Presets Fujifilm collection.
Learn more about analog Lightroom Presets:
- The Fuji 400H Preset That Makes Your Portraits Look Like Film
- Fujifilm Film Simulation Lightroom: Which One Should You Use
- Fujicolor C200 Lightroom Preset: How to Get That Warm Vintage Film Look
- Kodak Film Lightroom Presets – The Full Collection Guide
- Lightroom Film Presets: The Complete Guide to Analog Film Looks
Richard is a commercial and editorial photographer with over 15 years behind the lens. He’s shot on film and digital across three continents, and still keeps a Nikon F3 loaded with Kodak Portra on his desk. At LegendaryPresets, he leads preset development – studying actual film scans to make sure every stock behaves like the real thing.