


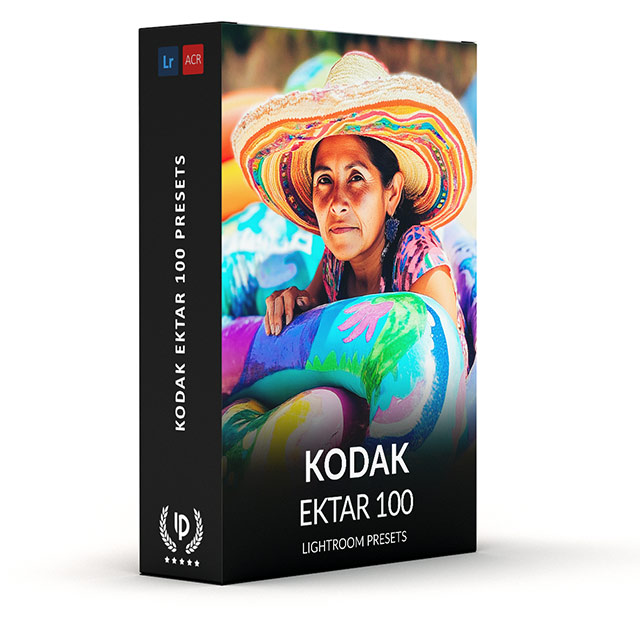


Kodak Ektar 100 Presets
$34.90
Craving that legendary Ektar 100 Look ? Our Kodak Ektar 100 presets for Lightroom transport you back to the glory days. Expertly crafted to faithfully recreate the captivating colors, rich contrast, and legendary image quality that defined Ektar 100
Buy now and rediscover a masterpiece.
✓ 8 Kodak Ektar 100 Presets
✓ 20 Clean Edit Presets
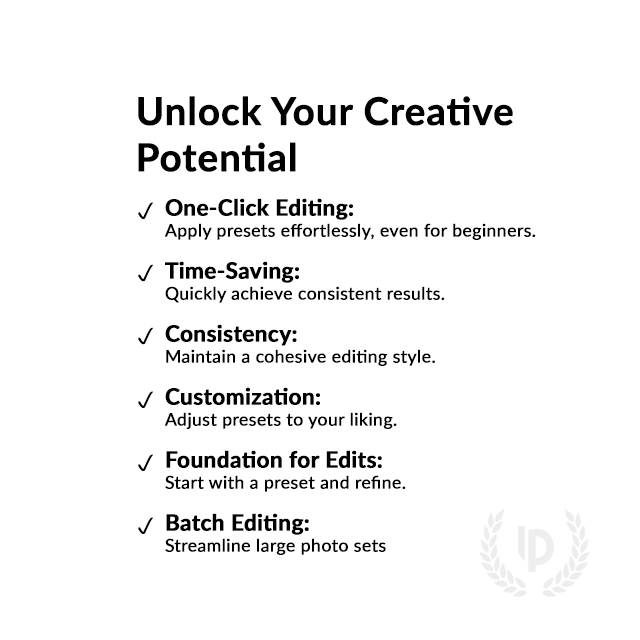
✓ Professional Look with 1-Click
✓ Easy to use – Beginner-friendly
✓ Create your own Signature Style
✓ Instant Digital Download
![]() For Desktop & Mobile
For Desktop & Mobile
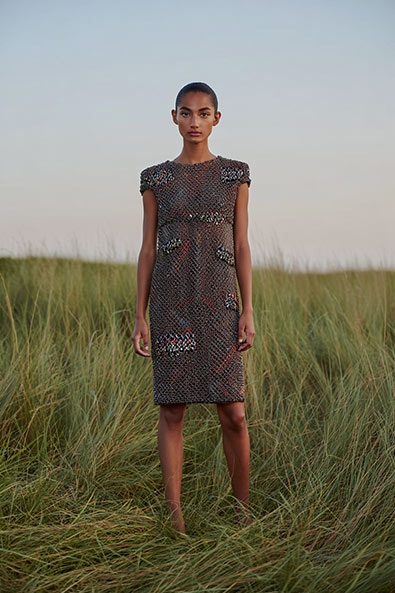
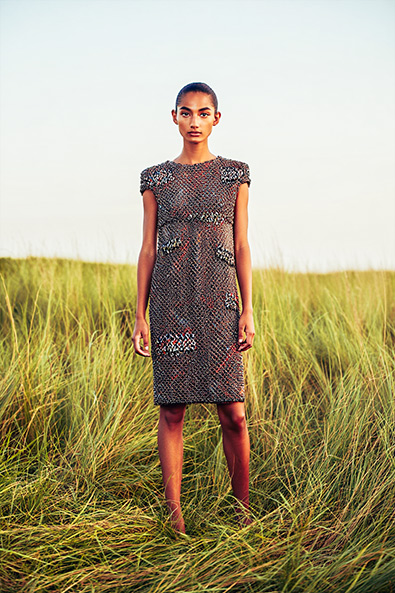
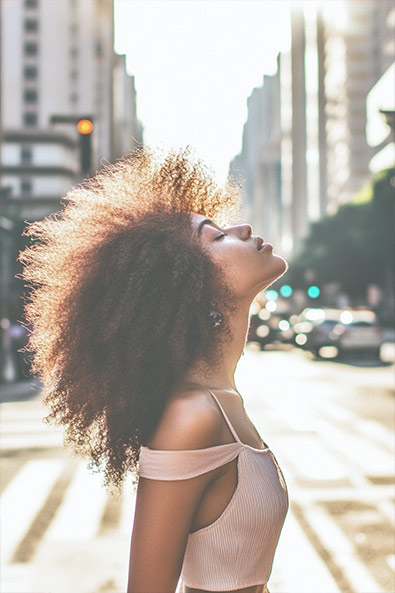
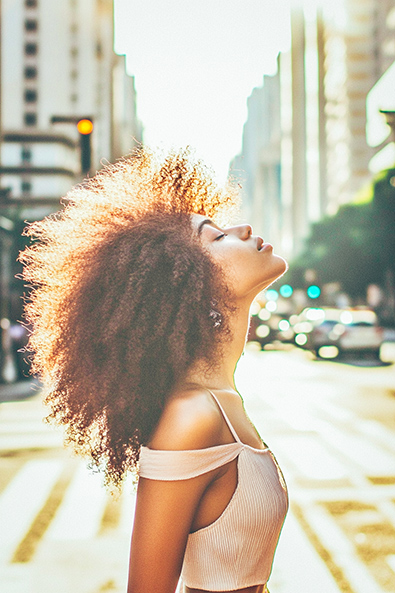
Want Professional – Quality Images? Get Kodak Ektar 100 Presets.
“Amazing presets. The vivid colors and insane contrast make my landscape photos come to life.” James S
Unlock the true potential of your photos with Kodak Ektar 100 Lightroom presets!!
Recreate them instantly with our presets! Achieve stunning edits in seconds – vibrant colors, exceptional detail, and a touch of classic grain.
Don’t miss out—get your presets now and bring your vision to life!
What's Included:
What’s Included
» 8 Kodak Ektar 100 Presets
» 20 Clean Edit Presets
» 1x Instruction Guide (PDF)
» File formats: XMP, DNG
» 8 DNG Files
» Free Upgrades
Clean Edit Presets
Use the Clean Edit Presets to make basic adjustments and set the foundation for your image. They also speed-up your workflow and offer you endless style combinations.
![]() You receive this presets as digital download
You receive this presets as digital download
immediately after purchase.
Compatible with:
![]()
Desktop
» Adobe® Lightroom® 7.5 or later
» Adobe® Camera Raw 10.5 or later
Mobile
» Adobe® Lightroom Mobile
» Android & iPhone
Get 8 Ektar 100
Film Simulation Presets

Ektar 100 base

Ektar 100 vivid

Ektar 100 cool

Ektar 100 warm

Ektar 100 pulled

Ektar 100 pushed

Ektar 100 flat

Ektar 100 balance


From warm tones to rich grain, our film photography presets cover every analog style, browse the full Kodak Lightroom Presets collection.

Professional Kodak Ektar 200 Film Simulation Presets.
Image: Kodak
The Kodak Ektar 100 Analog Film
When Kodak introduced Ektar 100 in the late 1980s, it quickly became a favorite among landscape and nature photographers seeking unparalleled image quality and vibrant colors. This professional-grade color reversal film boasted an exceptional combination of vivid yet accurate hues, exceptional contrast, and an ultra-fine grain structure that allowed for immense detail and sharpness.
Ektar 100’s popularity soared due to its ability to capture the true essence of landscapes and natural scenes with unrivaled clarity and depth. Its unique emulsion formula and advanced manufacturing process ensured consistent performance, making it a trusted choice for professionals and enthusiasts who demanded the highest level of image quality and color fidelity..
Key facts about Kodak Ektar 100 :
Do you have Tips for the Presets?
Tips & Tricks for Ektar 100 Presets
- Adjust Exposure: After applying the preset, tweak the exposure slider to ensure your photo is not too dark or too bright.
- Fine-Tune Colors: Use the color sliders to make small adjustments to the colors to match your vision.
- Enhance Contrast: Increase contrast slightly to make your photo pop and bring out details.
- Sharpen Details: Use the sharpening tool to make your image look crisp and clear.
- Reduce Noise: If your photo looks grainy, use the noise reduction tool to smooth it out.
How to Download & Install the Presets?
As soon as your payment went through, you receive the download link direct by email.
Just follow the easy instructions at How to install Lightroom Presets and start using them on your desktop or mobile device.
How to use Lightroom Presets?
- The Kodak Ektar 100 Filters for Lightroom are crafted by professionals to enhance the visual look of photos. These Kodak presets are designed to complement a wide range of images, ensuring consistent results.
- The Presets are available for the the Desktop and Mobile App versions of Lightroom. The mobile app for Android and iPhone offers you nearly the same features like the desktop version to edit and transform your photos on the go.
- You can capture your photos using a DSLR, mirrorless camera, point & shoot camera, or even your smartphone. Import the image into Lightroom and apply the desired preset. This straightforward process allows you to achieve professional results with just a few clicks.
- Please note that the final outcome of a preset can vary depending on the characteristics of the original photograph, such as white balance, exposure, tones, and settings.
- After applying a preset, you can start to make manual adjustments to fine-tune the image to your liking. Lightroom offers a large set of sliders and tools, allowing you to tweak many aspects of the image until you achieve the desired outcome.
- In some instances, a preset may alter the skin tone of persons captured in the photograph. In this cases, utilize Lightroom’s powerful color adjustment tools to refine the skin tone until it appears natural and flattering.
- For optimal results, it’s recommended to use presets on well-exposed, high-quality RAW & JPG photographs. Images that are overexposed, underexposed, or of poor quality may yield unsatisfactory results when presets are applied.
How to use the Clean Edit Presets?
With our Clean Edit Presets you can set the perfect foundation of your image by adjusting for example white balance, exposure, whites, tones, etc. Each clean edit preset changes only one value, without overwriting other adjustments and values.
Can the Presets used in Photoshop?
You can use the Presets in XMP format also in Adobe Photoshop
Installing Presets in Adobe Camera Raw (ACR) 10.3+ (Windows & Mac)
- Open your image in Adobe Photoshop.
- At the top menue click on Filter and select “Camera Raw Filter”.
- On the right you see the word “Basic” click the small burger next to it. Then, click “Load Settings”.
- Choose the .xmp file(s) from downloaded and unzipped folder. Then click on “Load” button.
- To apply a preset, click on OK button.
How about License/Terms?
License Terms
The Presets are licensed for individual use only. Resale or redistribution is strictly prohibited. This non-transferable license is limited to the original purchaser and does not extend to companies or partnerships.
No Refunds
All sales of these digital products are final with no refunds, returns, or exchanges permitted due to their downloadable nature.
By purchasing, you agree to these terms.
Visitors are also interested in:
Kodak Ultra Color 100
Kodak Portra 160
Kodak Gold 100
Kodak Gold 200
Kodak Color Plus 200
Fujichrome Sensia 200
Only logged in customers who have purchased this product may leave a review.
Related products


$34.90


$34.90


$34.90


$34.90


$34.90


$34.90
Reviews
There are no reviews yet.