


Home | Articles | Analog Film
Film Emulation in Lightroom: Analog vs Digital Explained
Richard ♦ May 18, 2026 ♦ 13 min read

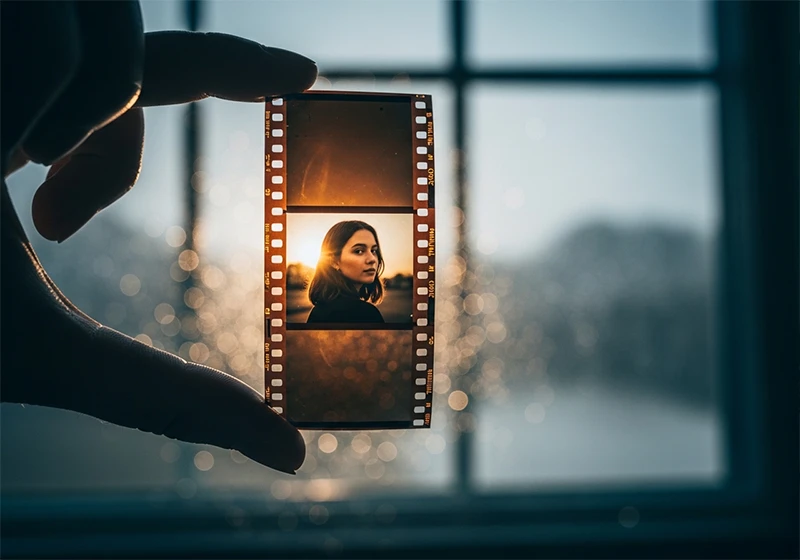
If you’ve ever looked at a digital photo and thought “something’s missing,” you’re not alone. Film emulation in Lightroom is exactly what it sounds like: using editing tools to make your digital images look like they were shot on analog film. And honestly, once you understand how it works, it changes the way you edit.
Let’s break it all down.
01.
Background
What Is Film Emulation in Lightroom?
Film emulation is the process of applying tone curves, color shifts, grain, and shadow adjustments to a digital RAW file to mimic the look of a specific analog film stock. Instead of shooting on Kodak Portra 400 or Fujichrome Velvia 100, you shoot digital and then recreate those characteristics in post.
Lightroom is the most popular tool for this because its editing panels map almost directly onto the things that make film look like film: the tone curve, the HSL sliders, the color grading panel, and the grain tool.
The short answer to whether Lightroom can actually replicate analog film? Mostly yes, with a few honest exceptions we’ll get into.
Understanding the analog-vs-digital distinction makes you a better editor. Pair that knowledge with a solid film simulation reference for Lightroom and you’ll cut your editing time significantly.
02.
Comparsion
Analog Film vs Digital: What’s Actually Different?
This is where most articles skip the good stuff. Understanding the real differences between film and digital is what separates a convincing emulation from one that just looks like a filtered Instagram photo.
Here’s what separates film from a digital sensor:
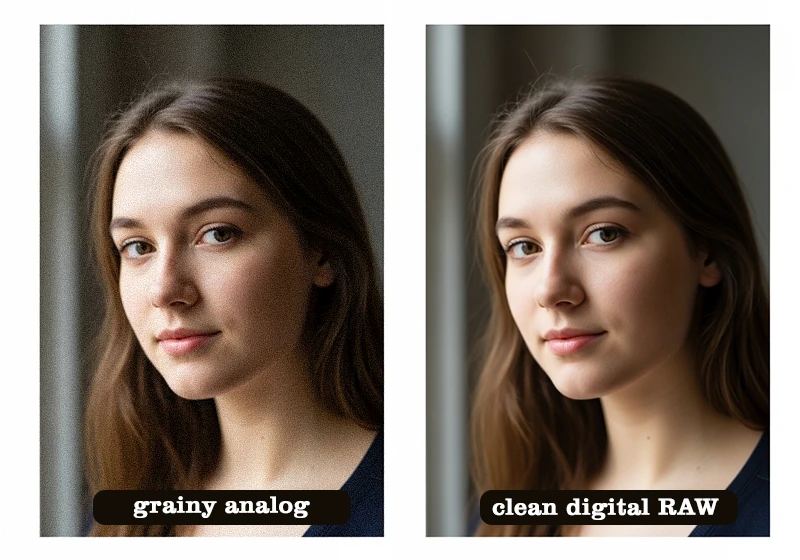
- Grain vs noise: Film grain comes from silver halide crystals clumping randomly during exposure and development. Digital noise is a byproduct of amplifying an electronic signal. They look and behave completely differently, especially in shadows.
- Color response: Film uses layered dye couplers to record color. Each layer responds to light independently, which creates color interactions that digital sensors (using a Bayer pattern) simply don’t replicate by default.
- Tonal curve: Film has a characteristic “S-curve” response. Shadows lift slightly, highlights roll off gently rather than clipping hard. Digital RAW files are essentially linear until you apply a tone curve.
- Dynamic range: Modern digital sensors actually outperform most film stocks in dynamic range. But film handles overexposure more gracefully, which is part of why highlights look softer on film.
- Halation: This is the subtle red or orange glow you see around bright light sources on film. It’s caused by light scattering through the film base. Lightroom can approximate it, but it’s never quite the same.
| Feature | Analog Film | Digital RAW | Film-Emulated Digital |
| Grain/Noise | Organic, random | Electronic, uniform | Simulated via grain tool |
| Color Response | Layered dye chemistry | Bayer sensor matrix | HSL + color grading panel |
| Highlight Rolloff | Gradual, soft | Abrupt clipping | Tone curve adjustment |
03.
Film Look
How Film Emulation Works in Lightroom
Lightroom gives you four main levers for building a convincing film look:
1. The Tone Curve This is the most important one. Film stocks have a characteristic curve shape. Lifting the bottom of the curve raises the shadows and gives you that “faded” look typical of color negative film. Rolling off the top prevents highlights from blowing out.
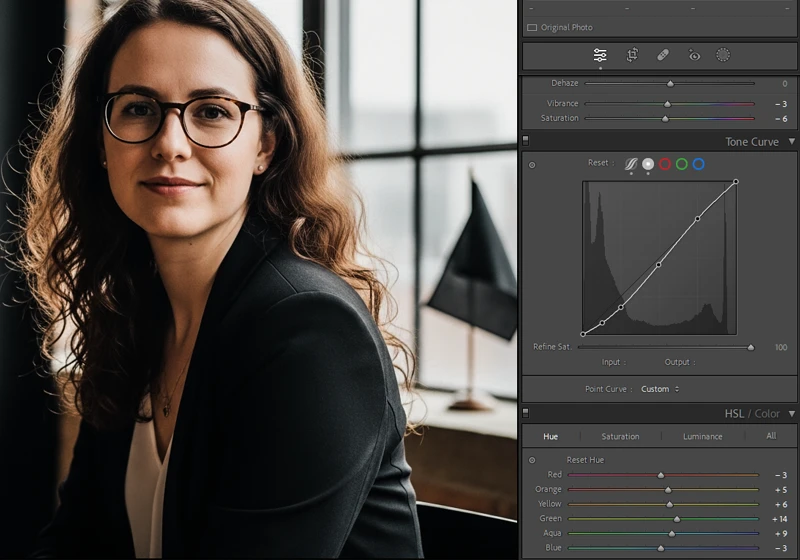
2. The HSL / Color Sliders Different film stocks respond to specific colors in specific ways. Kodak Portra, for example, renders skin tones with a warm, slightly desaturated quality. Fujichrome Velvia pushes greens and blues hard. The HSL panel is where you dial this in.
3. The Color Grading Panel This is where you add color casts to shadows, midtones, and highlights separately. Film almost always has some color cast baked in, whether it’s the warm bias of Kodak Gold 200 or the cooler, greener shift of Fujifilm Superia.
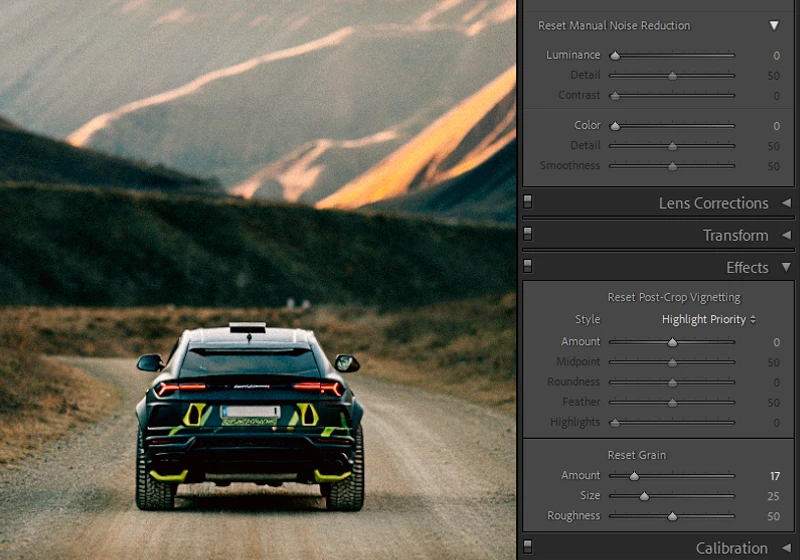
4. The Grain Tool Lightroom’s grain tool has three controls: amount, size, and roughness. For a realistic analog look, roughness matters most. High roughness at moderate size is closer to what real film grain looks like than just cranking the amount slider.
What Lightroom can’t fully replicate:
- True halation (light bleed through the film base)
- The physical randomness of actual grain across a full frame
- Color interactions between film dye layers in extreme lighting conditions
These are minor limitations for most shooting situations, but worth knowing.
04.
Get Started
Where to Start with Film Emulation Presets?
Building a film emulation from scratch in Lightroom takes time. You need to understand each film stock, how its curve behaves, what color biases it has, and how its grain looks at different ISOs. That’s a lot of trial and error.
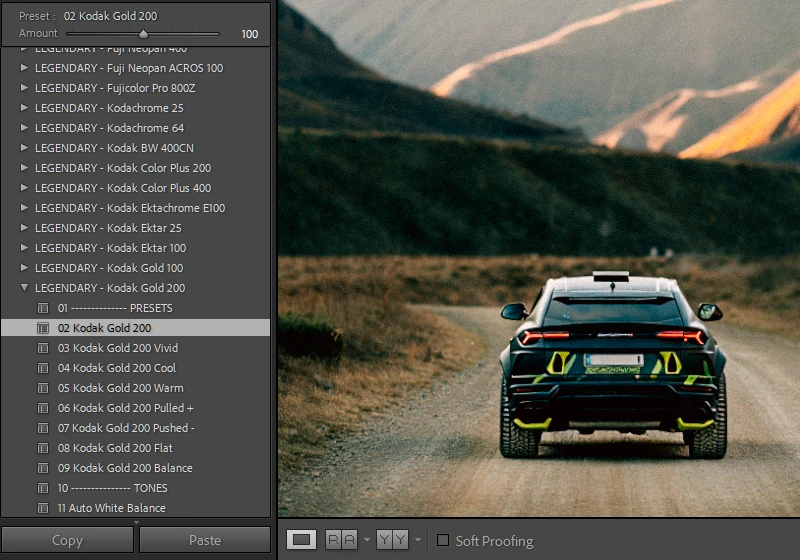
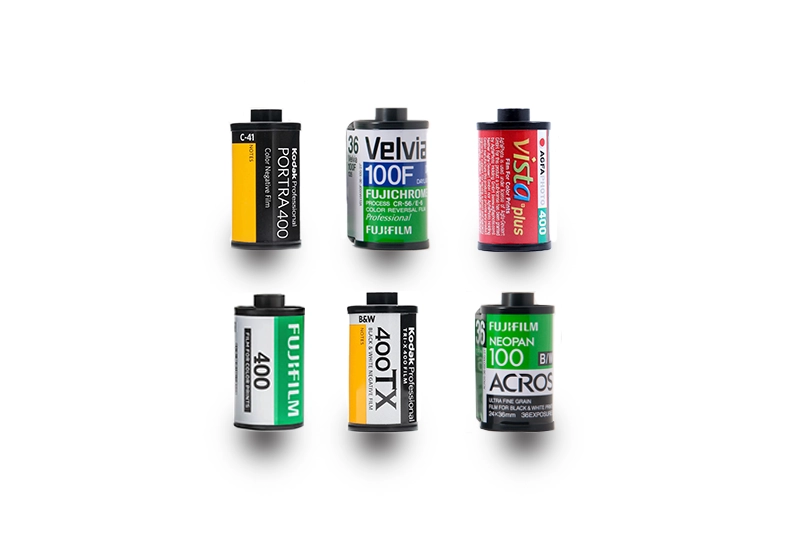
This is exactly where presets earn their place. A good preset is basically a reverse-engineered film profile baked into a one-click starting point. Legendary Presets has done this work across a wide range of film stocks, from Kodak Portra and Fujichrome Velvia to Agfa Vista and Fujifilm Neopan Acros. You apply the preset, see what the film look actually does to your image, and then fine-tune from there.
Who gets the most out of film emulation presets?
- Portrait photographers who want warm, skin-friendly tones without over-processing (Kodak Portra 400, Fujifilm Pro 400H)
- Travel photographers chasing vivid, punchy color with character (Fujichrome Velvia 100, Kodak Ektar 100)
- Street photographers going for high-contrast black and white (Kodak TRI-X 400, Fujifilm Neopan Acros 100)
- Everyday shooters who want that warm, nostalgic feel without building it manually (Kodak Gold 200, Fujifilm Superia 400)
Presets aren’t a shortcut to skip understanding editing. They’re a shortcut to skip reinventing the wheel.
05.
Film Stock
Iconic Film Stocks and Their Lightroom Equivalents
Here’s a practical rundown of the most-emulated film stocks and what defines their look in Lightroom:
Kodak Portra 400
- Lifted shadows, warm midtones, desaturated reds and oranges
- Highlights roll off smoothly without going harsh
- Best for: portraits, weddings, lifestyle
Fujichrome Velvia 100
- High saturation, especially in greens and blues
- Deep shadows, punchy contrast
- Best for: landscapes, travel, nature
Kodak TRI-X 400
- High contrast black and white, visible grain even at base ISO
- Rich, true blacks with gritty midtones
- Best for: street photography, documentary, editorial
Fujifilm Superia X-TRA 400
- Cool-leaning greens, mild grain, balanced contrast
- Versatile everyday film look
- Best for: casual shooting, street, travel
Agfa Vista 400
- Warm color cast, slight magenta shift in highlights
- Retro, vintage feel without being overdone
- Best for: lifestyle, casual portraits, summer shoots
Fujifilm Neopan Acros 100
- Fine grain black and white, clean midtones, excellent shadow detail
- One of the most refined B&W film emulations you can do in Lightroom
- Best for: studio, architectur
06.
Tips
The Contrarian Take: Film Emulation Isn’t Always the Right Call
Here’s something you won’t read on most preset blogs: I stopped defaulting to film emulation for certain types of work, and it made my images better.
I shot a lifestyle campaign a while back, bright natural light, white walls, clean product styling. I applied a Kodak Portra-style preset out of habit. The lifted shadows made the whites look dingy. The warm color cast fought with the product colors. The “film look” was actively working against the image.

The truth is, film emulation is a creative tool, not a universal fix. It works brilliantly when:
- The scene has natural imperfection (mixed light, outdoor texture, organic subjects)
- You want an emotional, nostalgic, or timeless feel
- The grain and color shift add texture rather than fight against the image
It works against you when:
- The image needs clinical sharpness and clean color (commercial, product, real estate)
- The scene is already low contrast and adding a faded curve just flattens it further
- You’re applying it because it’s the default, not because it serves the image
The real insight here: film emulation works best as a starting point you interrogate, not a result you accept. Apply the preset, then ask whether every element of it is actually helping the image. Turn off the grain. Adjust the curve. Push back on the color cast. That’s how you get results that look intentional rather than filtered.
07.
Workflow
Practical Workflow: Getting Film Emulation Right in Lightroom
Here’s the sequence that actually works:
Step 1: Import and fix exposure first Before you touch any film look, get your exposure, white balance, and basic corrections sorted. Film emulation looks terrible on a badly exposed image.
Step 2: Apply your preset or starting curve Apply the film emulation preset or build your tone curve. This sets the overall character of the image.
Step 3: Adjust the HSL sliders Fine-tune individual colors to match the film stock’s known behavior. Lower the saturation of reds slightly for a Portra feel. Push the greens for Velvia. Pull back yellows for a cooler, more muted European film look.
Step 4: Use the Color Grading panel Add subtle color casts to shadows and highlights. A touch of orange in the shadows is very Kodak. A green-teal push in the shadows is very Fujifilm.
Step 5: Add grain last This is where most people get it wrong. Add grain after everything else is set. Grain applied before final exposure adjustments will look inconsistent once you go back and tweak brightness.
- Roughness: 50-65 for realistic analog texture
- Size: 20-35 for most 35mm film emulations
- Amount: Start at 20, adjust to taste
Step 6: Check on a phone screen Film-emulated images often look different on mobile vs desktop. Since a huge chunk of your audience sees your work on a phone, this check matters.
08.
Key Takeaways
- Film emulation in Lightroom works by adjusting tone curves, HSL, color grading, and grain to replicate analog film stocks
- Grain and noise are not the same thing. Film grain is organic and random; digital noise is uniform. Lightroom’s grain tool simulates the former.
- The tone curve is your most powerful tool. Lift the shadows, roll off the highlights, and you’re already halfway to a convincing film look.
- Presets are a starting point, not a final answer. Use them to understand the film look, then adjust to fit your specific image.
- Not every image benefits from film emulation. Clean commercial and product work often looks worse with a faded film treatment.
- Add grain last in your workflow, after all exposure and color decisions are made.
- Match the film stock to your subject. Portra for portraits. Velvia for landscapes. TRI-X for street. Neopan Acros for fine-detail B&W.
09.
Final Thought
I’ve spent years testing film presets across different shooting conditions, from midday travel photography to low-light portrait sessions. The most consistent lesson: the photographers who get the best results from film emulation are the ones who understand what each film stock actually did, not just what it looked like. Once you know that Kodak Portra was designed for skin under mixed light, or that Velvia was built for saturated daylight landscapes, the edits start making a lot more sense.
Richard is a commercial and editorial photographer with over 15 years behind the lens. He’s shot on film and digital across three continents, and still keeps a Nikon F3 loaded with Kodak Portra on his desk. At LegendaryPresets, he leads preset development – studying actual film scans to make sure every stock behaves like the real thing.