Home | Articles | Analog Film
Lightroom Mobile Presets: The Complete Guide for iPhone and Android
Richard ♦ June 17, 2026 ♦ 12 min read
Lightroom Mobile is free, runs on every iPhone and Android phone made in the last five years, and supports the same .xmp presets as the desktop version. You do not need a paid Adobe subscription to install presets, apply them, or edit on your phone.
This guide covers everything specific to mobile: how presets work on a phone, how to install them on iOS and Android, how to get the best results from your phone camera, which film presets work best on mobile photos, and how to sync your mobile edits with Lightroom on desktop.
If you are looking for the installation steps only, our how to install Lightroom presets guide covers every platform in detail.
Key Takeaways
- Lightroom Mobile is free to download, you do not need a paid subscription to use presets on your phone
.xmppresets work on Lightroom Mobile from 2024 onward, no DNG conversion needed- iPhone and Android both support direct
.zipimport as of the 2025 Lightroom Mobile update - Phone RAW files respond significantly better to presets than JPEGs, enable RAW shooting in your camera settings
- Film presets on mobile work best in natural light, artificial light and mixed light need more white balance correction than desktop edits
- If you use both desktop and phone, install via Lightroom CC on desktop and presets sync to mobile automatically
01.
How Lightroom Mobile Presets Work
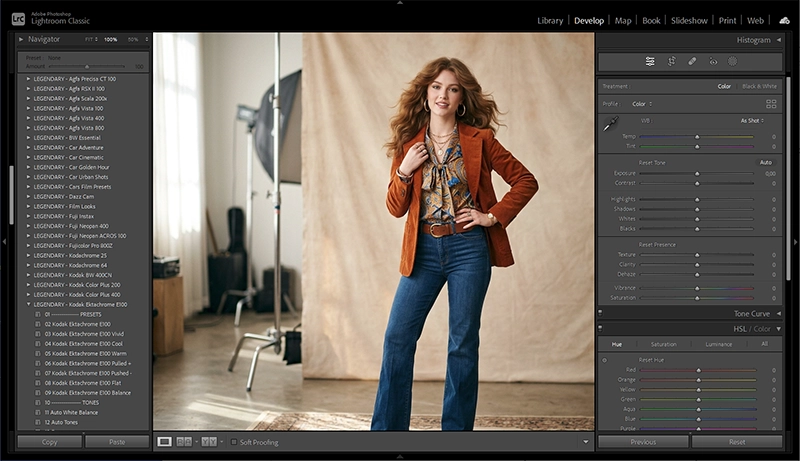
Lightroom Mobile uses the same preset engine as the desktop version. When you apply a preset, it moves the same sliders, Tone Curve, HSL, Color Grading, Detail, Exposure, White Balance, that the desktop app moves. The editing quality is the same. The difference is in the tools available after applying.

When you apply a preset, Lightroom adjusts multiple panels at once, tone curve, HSL, color grading, grain, and more, all calibrated to work together. What Lightroom Mobile has:
- Full preset library (same presets as desktop if synced)
- Preset Amount slider, reduce any preset to any strength between 0 and 100%
- Exposure, White Balance, Tone Curve, HSL, Color Grading, Detail, Optics panels
- AI Masking (subject, sky, background, brush)
- Healing tool
What Lightroom Mobile does not have vs desktop:
- Camera Calibration panel (affects some film presets)
- Batch sync across a full gallery (available in paid tier)
- Full export options (JPEG only on free tier)
- Plugin support
For most mobile photographers, the missing Camera Calibration panel is the only meaningful limitation. Presets that rely heavily on Camera Calibration for their color character may look slightly different on mobile than on desktop. Most Legendary Presets film packs are built to work across both environments.
02.
Install Method 1: Direct Import on Your Phone (No Desktop Needed)
This is the fastest method if you are editing only on mobile.
iPhone (iOS):
- Download your preset
.zipfile to your iPhone, it saves to the Files app automatically - Open Lightroom Mobile and tap any photo to enter edit mode
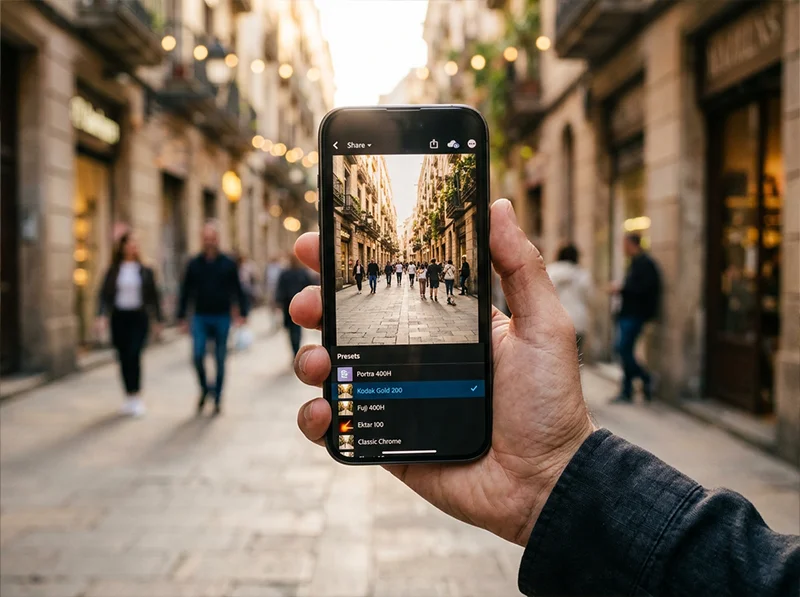
- Tap the Presets icon in the bottom toolbar
- Tap the three dots in the top right corner of the Presets panel
- Tap Import Presets
- Navigate to your
.zipfile in the Files app and tap it - Lightroom imports all presets in the pack at once
Safari users: If the
.zipfile opens as a folder instead of downloading, go to Settings, Safari, and turn off “Open safe files after downloading.” This stops Safari auto-extracting the zip, which prevents Lightroom from importing it.Android:
- Download the
.zipfile to your device, it saves to your Downloads folder - Open Lightroom Mobile and tap a photo
- Tap Presets in the bottom toolbar
- Tap the three dots in the top right of the Presets panel
- Tap Import Presets
- Use the file manager to navigate to your
.zipfile and select it - If the direct zip import fails, extract the
.zipfirst using your file manager, then import the individual.xmpfiles

The Import Presets option appears when you tap the three dots in the Presets panel. Select your zip file from the Files app. 03.
Install Method 2: Sync From Desktop (Recommended for Desktop and Mobile Users)
If you also use Lightroom on your desktop, this is the better method. Presets installed on desktop sync automatically to every device on the same Adobe account.
- Install presets in Lightroom CC on your desktop (File > Import Profiles and Presets)
- Make sure cloud sync is turned on in your Lightroom CC settings
- Open Lightroom Mobile and sign in with the same Adobe account
- Presets appear in your mobile Presets panel within a few minutes
This method keeps your preset library consistent across all devices without any manual mobile installation.
Note: This sync works through Lightroom CC (cloud version), not Lightroom Classic. If you use Classic on desktop, presets do not sync automatically, you need to use Method 1 for mobile installation.
04.
Getting the Best Results From Presets on Mobile Photos
Mobile photos respond differently to presets than DSLR or mirrorless RAW files. Here is what actually matters.
Shoot in RAW
This is the single biggest improvement you can make. Most modern iPhones (12 and later) and Android flagships support RAW capture in Lightroom Mobile. RAW files give the preset’s tone curve significantly more tonal range to work with compared to a JPEG.
To enable RAW in Lightroom Mobile
- Open Lightroom Mobile camera (tap the camera icon)
- Tap the three dots or settings icon
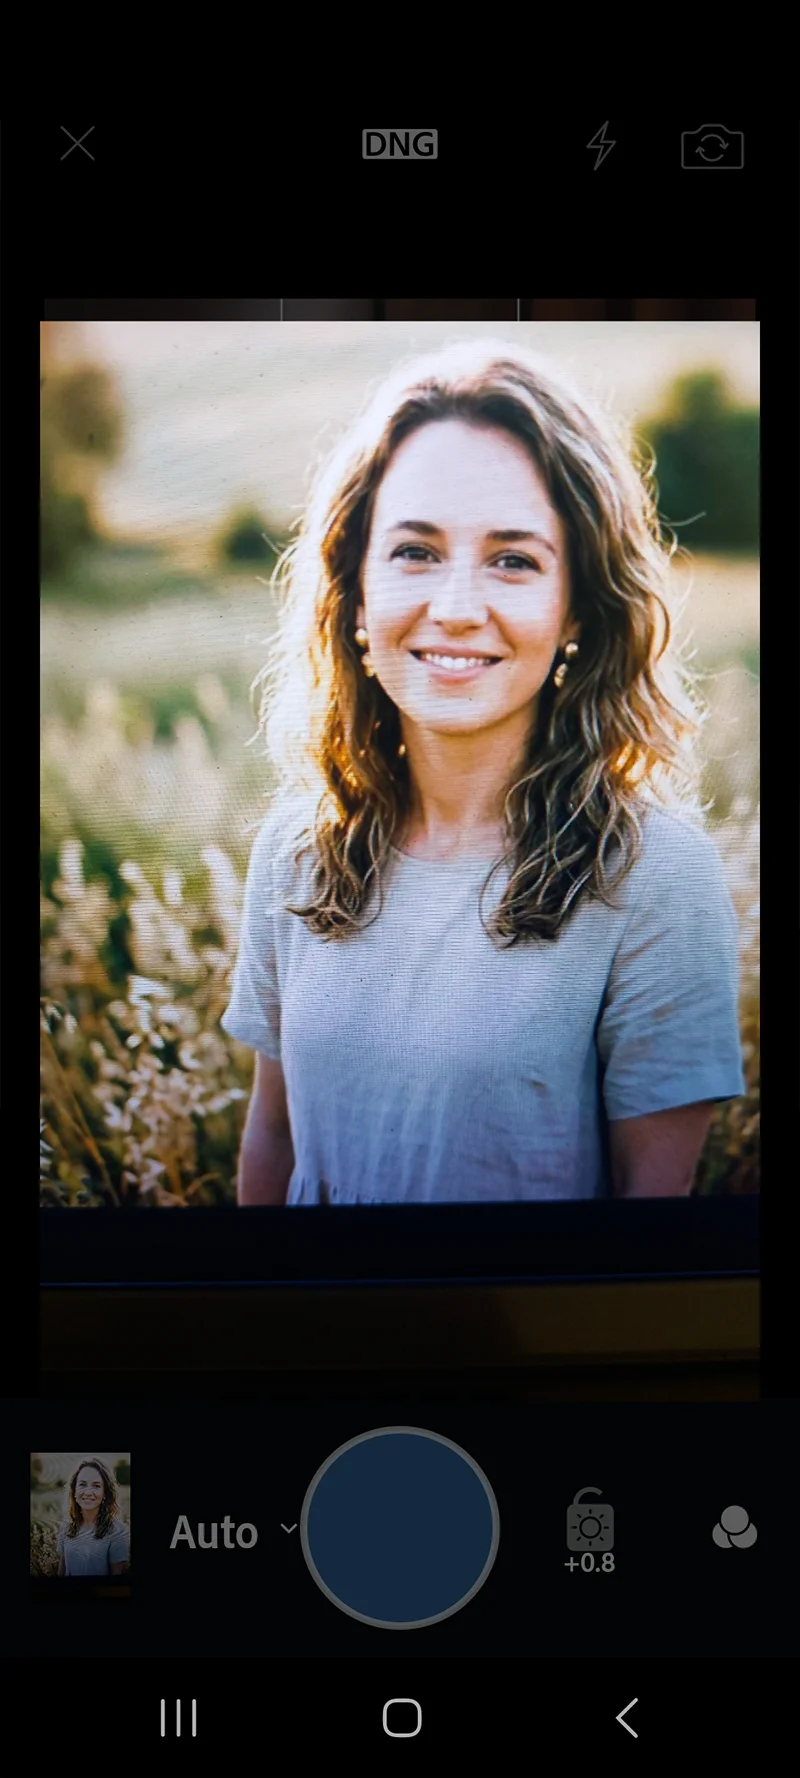
- Set capture format to DNG (Adobe’s RAW format)
The file sizes are larger but the editing results are noticeably better, especially for highlights and shadows.
Expose correctly in camera
Presets are not a recovery tool. A well-exposed RAW file gives the preset room to add character. A heavily underexposed or overexposed file forces you to correct exposure so aggressively that the preset’s tone curve behaves unpredictably.
Switching to DNG in the Lightroom Mobile camera is the single biggest improvement for preset results on phone photos. Match the preset to your light
Mobile photography happens in more varied light conditions than desktop editing. A few practical guidelines:
- Outdoor natural light: Kodak Gold 200, Fujifilm Superia 400, Kodak Ektar 100, these stocks were built for daylight and translate well to phone cameras in similar conditions
- Indoor natural light (window light): Fujifilm Pro 400H, Kodak Portra 160, cooler stocks that handle the mixed color temperature of indoor natural light without going grey
- Artificial light (tungsten, LED): Any warm-toned preset will push further orange under artificial light, expect to pull the Temperature slider down 200 to 400K after applying
- Low light: Kodak Portra 800, Fujifilm Natura 1600, high-ISO film stocks that add grain naturally without fighting the existing noise in a low-light phone shot
Use the Preset Amount slider
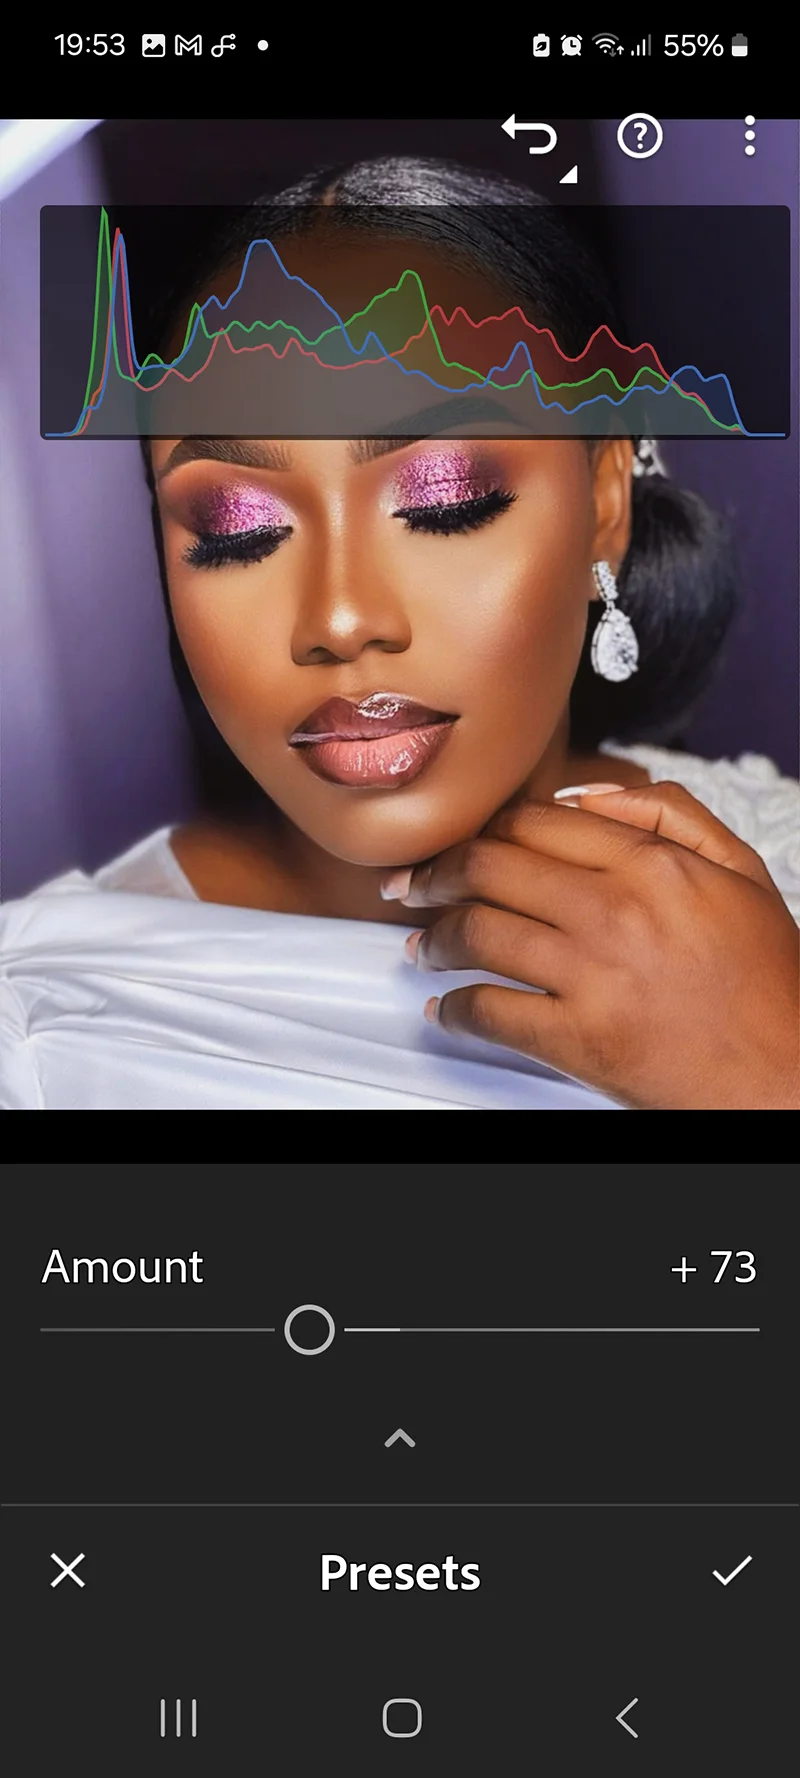
This is one of the most useful features specific to Lightroom Mobile (also available in Lightroom CC, but not Classic). After applying a preset, tap the preset name to reveal the Amount slider. Blending a preset at 70 to 80% instead of 100% often produces a more natural result on phone photos, which tend to have less dynamic range than camera RAW files.
05.
The Mobile Editing Workflow
A consistent mobile editing workflow produces better results than applying a preset and hoping for the best.
The Preset Amount slider blends the preset at any strength. On phone photos, 70 to 80% often looks more natural than full 100% - Step 1: Apply the preset first: Tap Presets, find the right stock for your light and subject, tap to apply. Do not correct anything before the preset goes on.
- Step 2: Adjust the Preset Amount if needed: If the look is too strong for a phone photo, tap the preset name and pull the Amount to 70 or 80%.
- Step 3: Correct exposure: Tap Light and adjust Exposure. Check the histogram, no clipping on either end.
- Step 4: Fix white balance if needed: Tap Color, then White Balance. Under artificial light, drop Temperature. In cool shade, push it slightly warmer.
- Step 5: Check grain: Phone cameras at high ISO already have noise. A heavy grain preset on top of existing noise can look unpleasant. Tap Detail and reduce Grain Amount by 20 to 30% if the texture looks digital rather than analog.
- Step 6: Export: On the free tier, tap the share icon and Export as JPEG. On the paid tier you have additional format and resolution options.
06.
Which Film Presets Work Best on Mobile Photos
Not every film preset translates equally well from camera to phone. Here is what works and why.

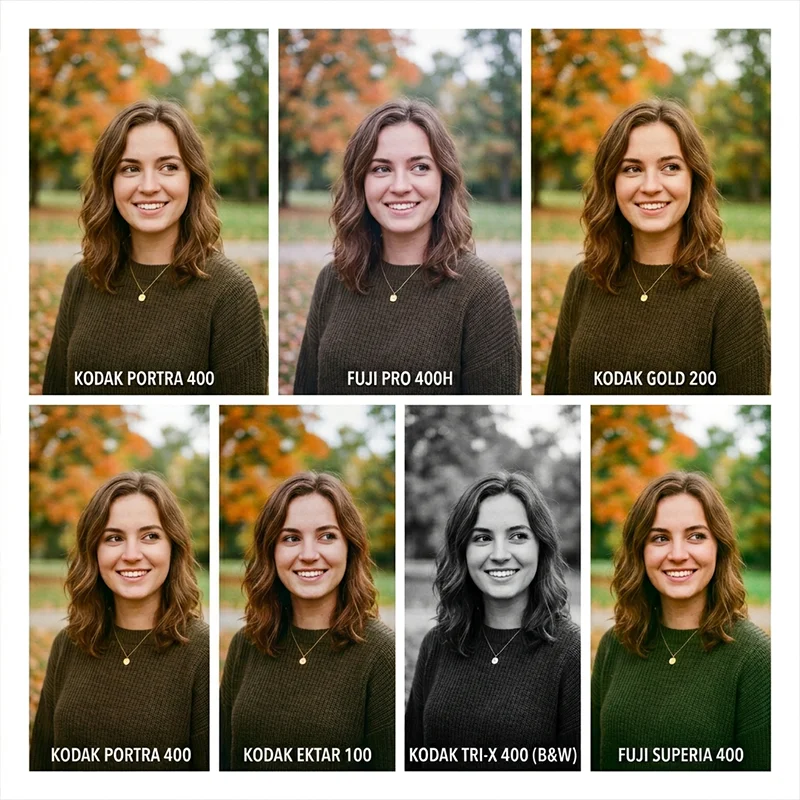
Six film presets on the same phone RAW file. Each stock handles mobile light differently. Best for mobile portraits:
- Kodak Portra 400, the skin tone handling is consistent even on phone cameras; the warm midtones work well in most mobile portrait conditions
- Fujifilm Pro 400H, cooler and softer, ideal for portraits in window light or outdoor shade where phone cameras tend to capture cool, flat light
Best for mobile travel and street:
- Kodak Gold 200, the warmth and lifted shadows work well on the compressed dynamic range of a phone RAW file; forgiving across different lighting conditions
- Agfa Vista 400, punchy saturation translates well to phone photos without pushing colors into oversaturation
- Kodak TRI-X 400, the grain and contrast of TRI-X work naturally with the texture inherent in phone cameras, especially at night or in low contrast conditions
Best for everyday and lifestyle:
- Fujifilm Superia 400, modest contrast, natural color, holds up across the wide range of lighting situations that everyday mobile photography involves
- Kodak Color Plus 200, clean, warm, forgiving; the closest thing to a universal preset for phone photos
Use with care on mobile:
- Fujichrome Velvia 100, very high saturation; on phone RAW files with already-boosted colors, Velvia can push greens and blues into oversaturation. Reduce the Preset Amount to 60 to 70%
- Kodak Ektar 100, similarly saturated; works well on phone RAW if you reduce Amount slightly
Browse the full film presets for Lightroom collection to find the stock that fits the way you shoot.
07.
Syncing Mobile Edits to Desktop
If you edit on mobile and want those edits visible on desktop, you need the Lightroom cloud version (not Classic) with sync enabled.
With Lightroom CC subscription:
- Photos edited in Lightroom Mobile sync automatically to Lightroom CC on desktop
- Edits, metadata, and applied presets all sync in real time
- You can continue editing on desktop with the full panel set
Without a subscription:
- Export the edited JPEG from mobile and import it into Lightroom Classic on desktop
- The preset is baked into the export, you lose the non-destructive edit history
08.
FAQ
Do I need a paid Adobe subscription to use presets on Lightroom Mobile?
No. The free version of Lightroom Mobile supports preset installation and use. You can install any
.xmppreset pack, apply presets, and export JPEGs without a subscription. Some advanced features (batch editing, full export options, desktop sync) require a paid account.Why do my presets look different on mobile than on desktop?
Two main reasons. First, phone RAW files have less dynamic range than DSLR or mirrorless RAW files, so the preset’s tone curve has less room to work. Second, Lightroom Mobile does not have the Camera Calibration panel, which some presets use for deep color shifts. Reduce the Preset Amount to 70 to 80% and adjust white balance to compensate.
Can I use the same presets on desktop and mobile?
Yes.
.xmppresets work across Lightroom Classic, Lightroom CC, and Lightroom Mobile. Install via Lightroom CC on desktop with sync enabled and they appear on mobile automatically, or install directly on the mobile app using the import method above.Why won’t my .zip file import on iPhone?
Safari auto-extracts zip files by default, which prevents Lightroom from importing them. Go to Settings, Safari, and turn off “Open safe files after downloading.” Download the file again and it will stay as a
.zip.How do I organize presets on Lightroom Mobile?
Presets appear in the same folder structure as desktop. Long press a preset folder to rename it or create new groups. Keep your active mobile presets to 10 to 15, a small, well-organized set is faster to use than 200 options.
Can I use Lightroom Mobile without internet?
Yes. Lightroom Mobile works offline. Photos stored on your device are editable without a connection. If you use cloud sync, edits sync when you reconnect to the internet.
Related Articles
- What Are Lightroom Presets? A Complete Beginner’s Guide
- How to Install Lightroom Presets on Desktop, Mobile and Photoshop
- How to Use Lightroom Presets: The Complete Workflow Guide
- Free Lightroom Presets: An Honest Guide to What’s Worth Downloading
- Lightroom vs Lightroom Classic: Which One Do You Actually Need?
Richard is a commercial and editorial photographer with over 15 years behind the lens. He’s shot on film and digital across three continents, and still keeps a Nikon F3 loaded with Kodak Portra on his desk. At LegendaryPresets, he leads preset development – studying actual film scans to make sure every stock behaves like the real thing.